


I did it again, I painted another rug. Actually the backside of my last painted rug. This time I did a less involved pattern and would recommend it highly to anyone who wanted to paint a rug. By 'less involved pattern' I mean less tape but it did take more time and measuring so I guess it is just as involved...
Here is the supplies I used:
I took some of my own advice this time and used the Liquitex paint thinner/fabric medium. I loved it! I wish I would have also tried the green painter's tape but that stuff is expensive and I just wanted to paint, so I used the blue painters tape I had on hand.
Erselv rug from Ikea in 5ft x 8ft
1-$2 paint sample of acrylic matte black paint (and had a lot left over! That is why I would recommend this project over the other one)
Paint brushes
My painter's tape did not lock in the color, as you can see in the above picture, it bled under the tape and into the crevices which I was fine with. If you did want this perfect you would probably need to get some sort of sealer.
How I made it:

(See my silly drawing) I chose an open diamond or offset zig-zag pattern. I measured the shorter end of the rug in thirds (one pair of zig zags per third) and then measured those each in half (for the sizing of just one zig zag). I also measured down the long side into 10 even sections (where the points are on the zig zag). That was all the measuring I did- I then just eyeballed the width of what I wanted the thickness of the lines to be and eye-balled the angles of the zig zags. I liked the non-perfect look, but if you wanted it to be perfect you would have to do a lot more taping and measuring.
 (the lighting in my room is pretty terrible since that is a white, not yellow, rug I am working with)I used the measuring tape to help keep the points of the zig zags consistent across the rug. This way I didn't need to measure 10 times down on all the pieces of tape. I lined of the edge of the measuring tape with the point of the zig zag already made and made sure my next zig zap point ended at the same place (see above right picture). Keep taping all the way through and then start painting! Peel up the tape and boom, done, you have a rug.
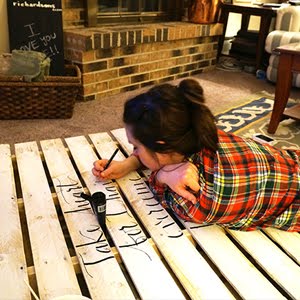
  ^^ Always the best help
0 friendly notes:
Post a Comment